Companies Tab
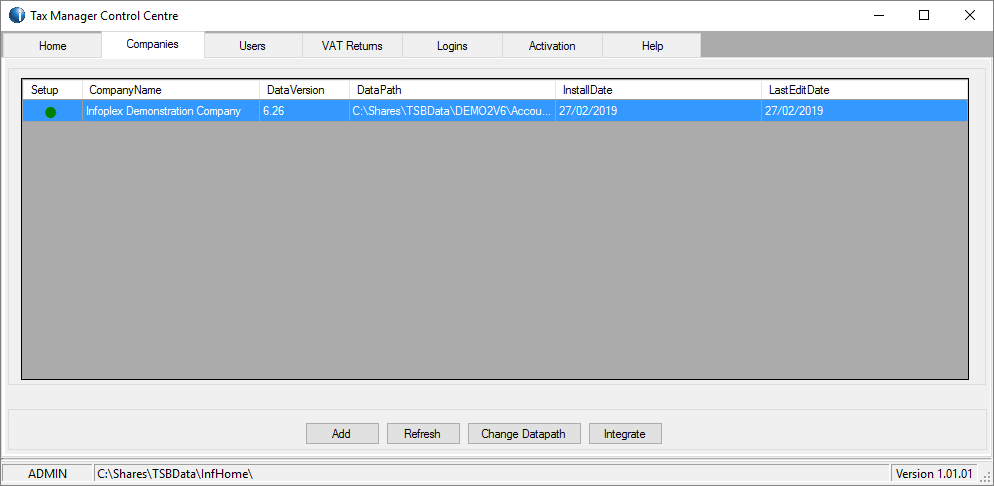
The Companies tab allows you to view the companies setup to use Tax Manager, and add new ones to the list.
To add another company, click the Add button. Enter the full path to the companies data folder into the provided box then click OK. An integration record will be created so the company can use Tax Manager, and the ADMIN user will be given rights to launch Tax Manager. You can only add as many companies as you have purchased licences for. (Tip: to get the data folder path, switch to the TAS Company Manager, right click the company in question and choose Copy Company Data Folder Name – this copies the path to your clipboard)
Clicking Refresh forces Tax Manager Control Centre to update any details it holds about a company (for example, it’s name or TAS data version). It should only need to be used rarely.
To change the datapath of a company (for example, when you have moved the TAS data to a new computer), click Change Datapath and enter the new folder path. The name of the data at the new path will be checked against the name of the data at the existing path – if there is a discrepancy then you will be asked for a Special Keycode. You’ll need to call Infoplex for this (so don’t try this at the weekend or outside regular business hours).
The Integrate option only applies to customers who had an existing setup prior to Tax Manager (perhaps for TASFlex or MultiTAS). Clicking it will setup Tax Manager to run with the selected company.
Users Tab
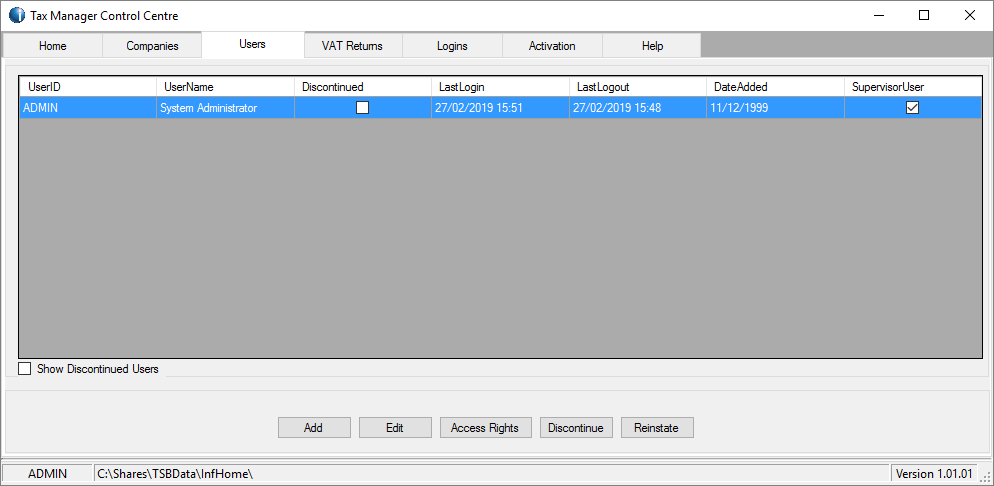
During setup, the built-in ADMIN user is granted rights to access Tax Manager. If you want to setup other logins then this is where you do so. Click Add and fill in the blanks to create a new user. Click Edit if you need to update the details of any user. Click Access Rights to give a user permission to launch Tax Manager. Select the company you want to give access to from the list, provide the user’s TAS User ID (or SPV) and finally click Save. To stop a user accessing Tax Manager, select their record and click Discontinue. To reverse this action, select their record in the table and click Reinstate.
VAT Returns Tab
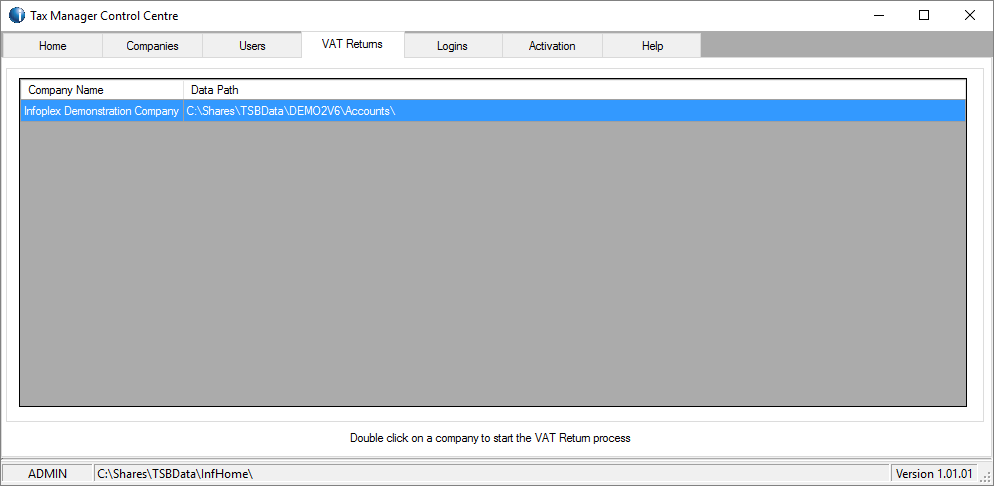
This tab shows the companies that you are able to run Tax Manager against. Double click on a company to launch the VAT Return Manager for that company, and begin the process of filing your MTD VAT Return. For details on how VAT Return Manager works click here
Logins Tab
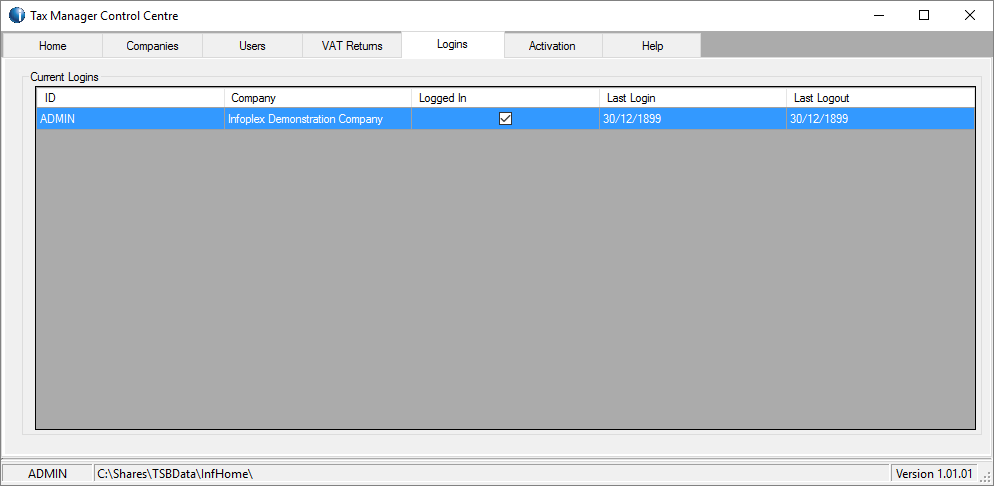
This tab shows which user(s) are logged in to Tax Manager and the companies that they are using.
Very occasionally (for example, when the computer restarts itself while Tax Manager is in use), a user might be recorded as ‘Logged In’ to Tax Manager when in fact they are not. To clear their record, highlight the relevant row in the table and untick the Logged In checkbox.
Activation Tab
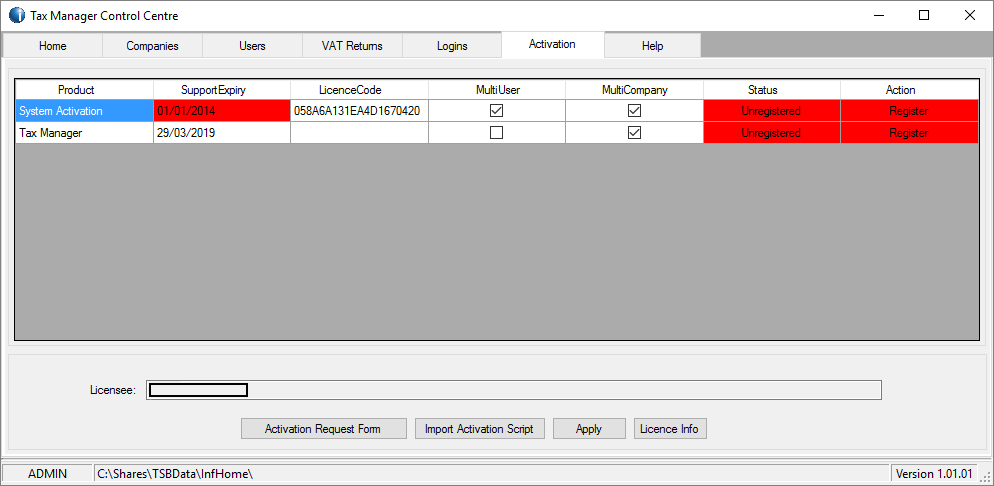
This tab shows the activation details for Tax Manager.
When first installed, Tax Manager works for 30 days on a trial basis. At any point in those 30 days, you can submit an Activation Request to Infoplex. A permanent activation file will be sent to you and once applied to your system, it will work in perpetuity (unless you change something).
To create an Activation Request, login to Tax Manager Control Centre as the ADMIN user. Click the Activation Request form button and follow the prompts. (Tip: if you receive Permission Denied errors doing this then, depending on your computer setup, you might need to run Tax Manager Control Centre by right-clicking on it’s Desktop icon and choosing Run As Administrator, then logging in as normal)
When you have received your Activation File from Infoplex then apply it by clicking the Import Activation Script button and follow the prompts. Click Apply to complete the process. The procedure is the same as the above if you receive an updated Activation File from Infoplex.